
Phone Screen Burn-In Test
Choose a quick test
Tap a card to jump straight into that set of tests.
Choose the test(s) you would like to perform
Tap a test to select it, or the info icon to see what it checks.
Exit this test?
Your progress on remaining tests will be lost. Completed results so far won't be saved.
Your results
Here's how your display performed across the tests you ran.
Before you start
- 1 Clean your screen so smudges aren't mistaken for dead pixels or clouding.
- 2 Dim the room for backlight bleed, light leakage, and black-level tests — these show up best in the dark.
- 3 Use normal room lighting for color, brightness, and uniformity tests.
- 4 For touch tests, use a finger or stylus and try to cover the entire screen, including edges and corners.
- 5 Fullscreen mode gives the most accurate results — allow it if your browser prompts you.
- 6 Motion and refresh-rate readings are approximate, browser-measured estimates — not exact hardware specs.
PHONE TEST LAB
Phone Screen Burn-In Test
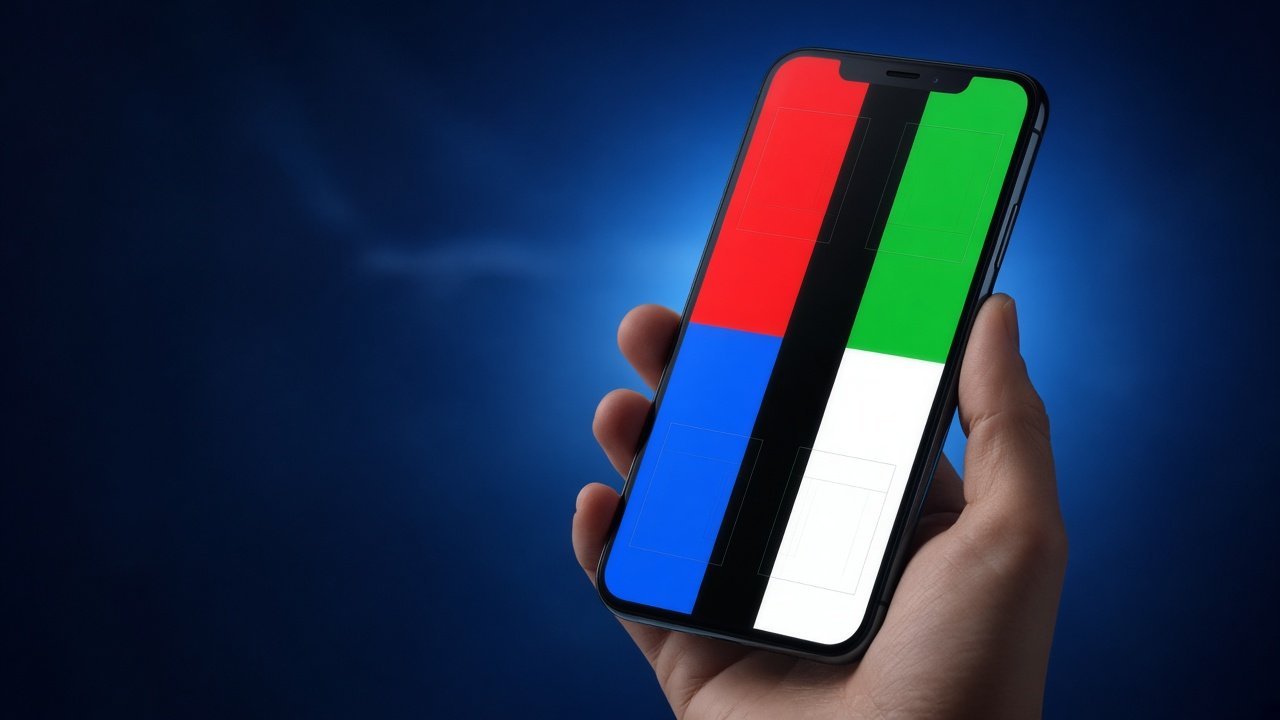
Free phone screen burn-in test for any brand—iPhone, Samsung, Google, OnePlus, Xiaomi, and more. Find image retention, status-bar ghosts, gesture-bar wear, and uneven OLED aging with a simple full-screen workflow in your mobile browser.
Related Tools
iPhone Screen Burn-In Test
Super Retina OLED checks, notch and Always-On Display tips.
Phone Screen Burn-In Test
Universal phone workflow for any brand or panel.
OLED Screen Burn-In Test
Pixel wear, color shift, and subpixel inspection.
Android Screen Burn-In Tes
Gesture bars, punch-hole cameras, and OEM UI wear patterns.
Phone Screen Burn-In Test
Expanded buyer and power-user checklist.
LCD Screen Burn-In Test
Retention versus backlight bleed and dead pixels.
Samsung Screen Burn-In Test
AMOLED panels, One UI navigation bar wear, edge-screen ghosting.
Monitor Screen Burn-In Test
Retention versus backlight bleed and dead pixels.
Used Phone Screen Test — Buyer's Checklist
Pre-purchase inspection routine specifically for second-hand phone buyers.
What Is Phone Screen Burn-In?
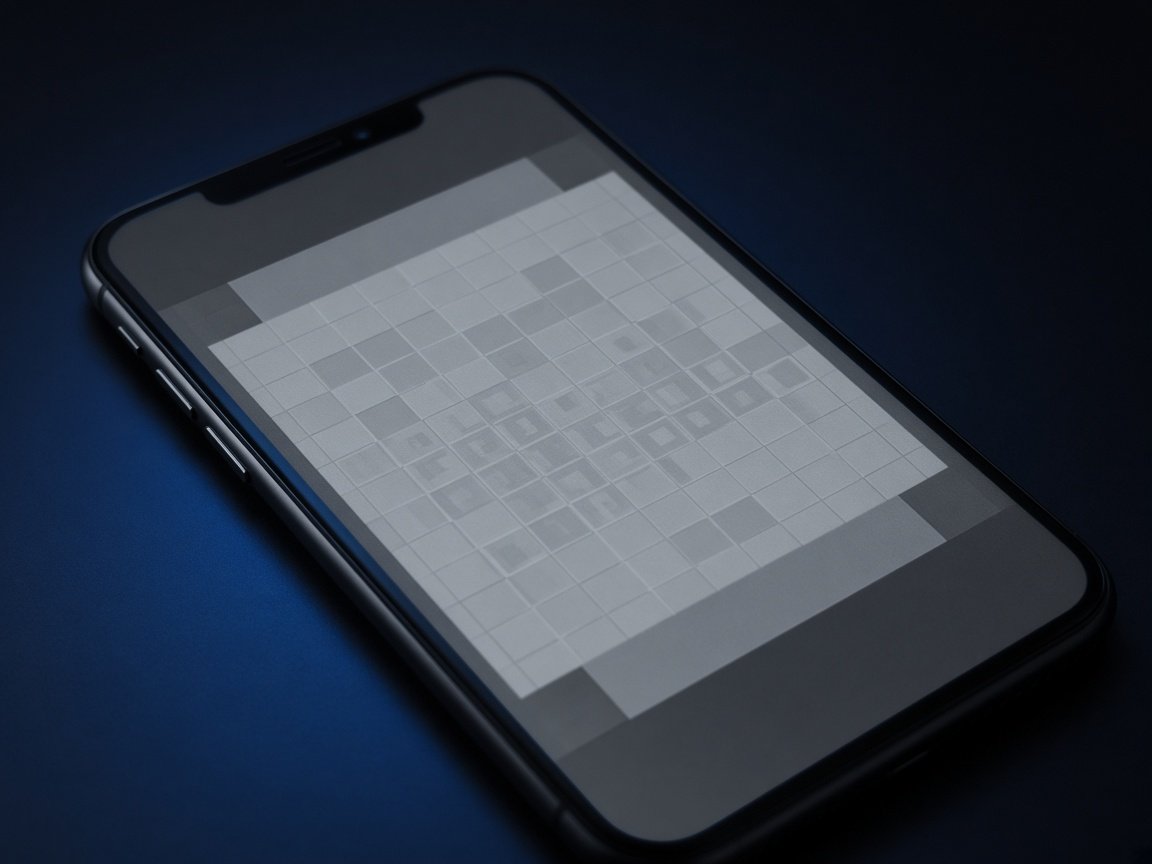
Phone screen burn-in is uneven aging of display pixels—most often on OLED—caused by bright, static UI left on screen for long periods. Navigation bars, punch-hole camera cutout icons, keyboards, notch/Dynamic Island chrome, and always-on clocks create recognizable silhouettes.
LCD phones are less prone to classic burn-in but can show temporary image persistence and other defects that buyers confuse with burn-in. A structured phone screen burn-in test separates retention, stuck pixels, and backlight issues so you know what you are looking at.
Whether you are checking your daily driver or a marketplace listing, the same steps apply: raise brightness, fill the screen, and scan slowly for leftover UI shapes. Pair this universal guide with device-specific pages when you need deeper detail.
Any Phone
iOS & Android friendly
Full Workflow
Color, gray & ghost scans
Used Market
Inspect before you buy
How to Run a Phone Screen Burn-In Test
Clean the glass, charge above 20%, and set brightness high. Disable adaptive brightness temporarily. Use fullscreen mode so browser chrome does not hide edges.
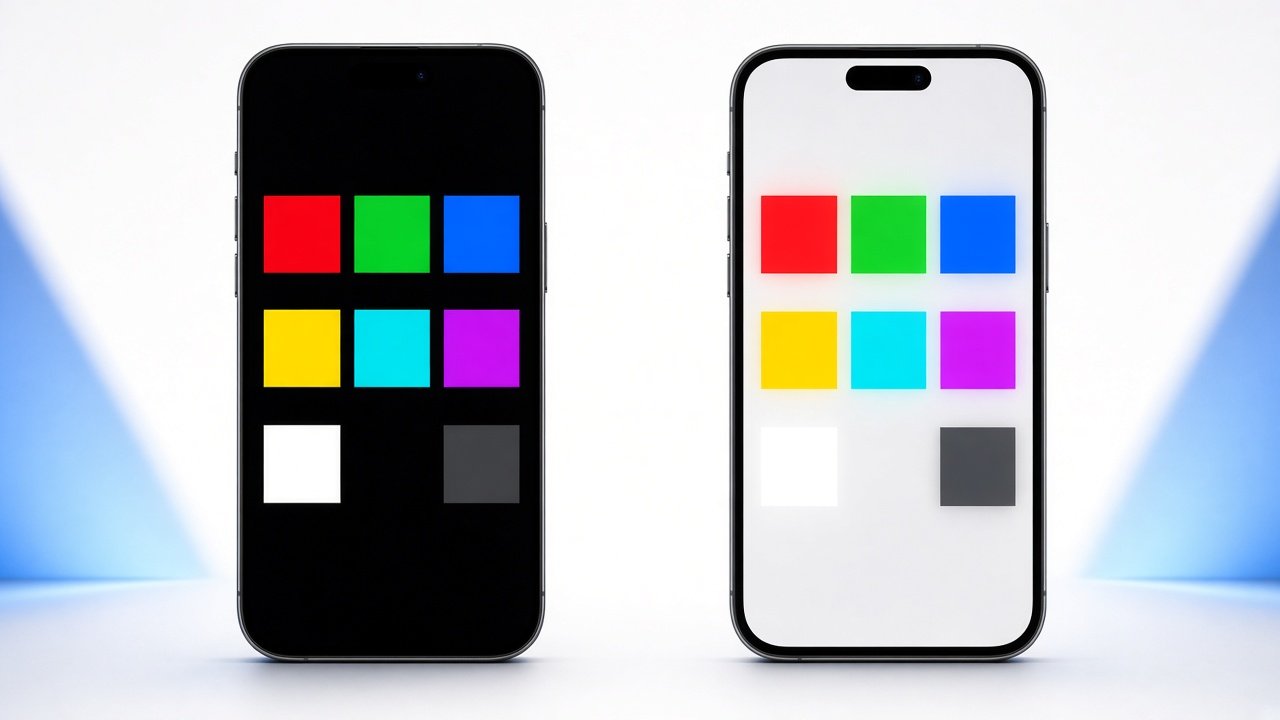
- 50% gray: Best for spotting faint status icons and gesture bars.
- White: Reveals dimmer patches and uneven aging.
- Black: Helps separate OLED wear from LCD backlight bleed.
- Red / green / blue: Shows tinted ghosts from colored UI.
Move the phone slightly under a desk lamp so reflections do not mimic defects. Wait two to three minutes after a heavy app session before judging permanence. If a ghost clears, it was retention; if it stays on every fill color, treat it as burn-in.
Phone UI ghosts to watch
Why Early Detection Matters on Phones
Phones live in bright conditions with persistent UI. Early detection lets you shorten timeout, reduce always-on features, and avoid leaving maps or banking apps parked on-screen. That slows further wear more effectively than any “fix” filter.
For buyers, burn-in is a negotiation lever and a daily usability issue. A ghosted keyboard can annoy you every message. Two minutes of testing beats discovering the problem after payment.
Re-test after long travel days, gaming weekends, or when you enable a new always-on style. Patterns change when your habits change.
Phone Prevention Tips & Next Steps
Use dark themes where possible, avoid maximum brightness for static content, and enable a short screen timeout. Hide dense always-on widgets if you do not need them. Vary wallpapers so the same bright icons are not fixed forever.
On stands and car mounts, blank the display when idle. After intense gaming, rest the panel before evaluating burn-in. Keep this page bookmarked for quick rechecks when buying or selling.
Phone Screen Burn-In FAQ
Can LCD phones get burn-in? Classic permanent burn-in is rare on LCD; temporary retention and backlight issues are more common. Use the LCD guide to compare.
Do screen protectors cause burn-in? No. They can add haze or glare that makes inspection harder, but they do not age OLED pixels.
Is burn-in covered by warranty? Policies vary by brand and region. Document with photos from this test.
How often should I test? Monthly for heavy users; before every used purchase; after enabling always-on features.
Ready to Check Your Phone Display?
Run the on-page checks, then jump to iPhone, Android, OLED, or LCD guides for deeper patterns. Keep results as photos if you are negotiating a used device.