iPhone Screen Burn-In Test
Choose a quick test
Tap a card to jump straight into that set of tests.
Choose the test(s) you would like to perform
Tap a test to select it, or the info icon to see what it checks.
Exit this test?
Your progress on remaining tests will be lost. Completed results so far won't be saved.
Your results
Here's how your display performed across the tests you ran.
Before you start
- 1 Clean your screen so smudges aren't mistaken for dead pixels or clouding.
- 2 Dim the room for backlight bleed, light leakage, and black-level tests — these show up best in the dark.
- 3 Use normal room lighting for color, brightness, and uniformity tests.
- 4 For touch tests, use a finger or stylus and try to cover the entire screen, including edges and corners.
- 5 Fullscreen mode gives the most accurate results — allow it if your browser prompts you.
- 6 Motion and refresh-rate readings are approximate, browser-measured estimates — not exact hardware specs.
IPHONE OLED LAB
iPhone Screen Burn-In Test
Free iPhone screen burn-in test for Super Retina and Super Retina XDR displays. Spot Always-On Display ghosts, status-bar wear, keyboard shadows, and notch-area unevenness before they become permanent. Use this free iPhone screen burn-in test to check your OLED display in a few minutes. It shows plain full-screen colors and gray levels, so any ghost image, color patch or uneven area is easy to see.
iPhone Focused
Super Retina OLED & AOD checks
Visual Scans
Gray, color & UI ghost checks
Buyer Ready
Inspect used iPhones safely
How to Run an iPhone Screen Burn-In Test
Raise brightness near maximum and turn off True Tone and Night Shift so color casts do not hide faint ghosts. Open a full-screen test surface (or solid color page) and slowly pan your eyes across the display—do not stare at one spot only.
- Gray fill: Look for a faint clock, battery icon, or keyboard outline.
- White and black: Check for dimmer bands near the notch and bottom home indicator.
- Primary colors: Red, green, and blue can reveal tinted wear from AOD widgets.
- Photo fullscreen: Confirm whether any UI silhouette remains over real content.
Repeat after locking and unlocking so temporary retention can clear. If a ghost returns immediately on gray, treat it as burn-in rather than short-term persistence. Compare both portrait and landscape if you game or navigate often.
Related Tools
iPhone Screen Burn-In Test
Super Retina OLED checks, notch and Always-On Display tips.
Phone Screen Burn-In Test
Universal phone workflow for any brand or panel.
OLED Screen Burn-In Test
Pixel wear, color shift, and subpixel inspection.
Android Screen Burn-In Test
Gesture bars, punch-hole cameras, and OEM UI wear patterns.
Samsung Screen Burn-In Test
Expanded buyer and power-user checklist.
LCD Screen Burn-In Test
Retention versus backlight bleed and dead pixels.
What Is iPhone Screen Burn-In?
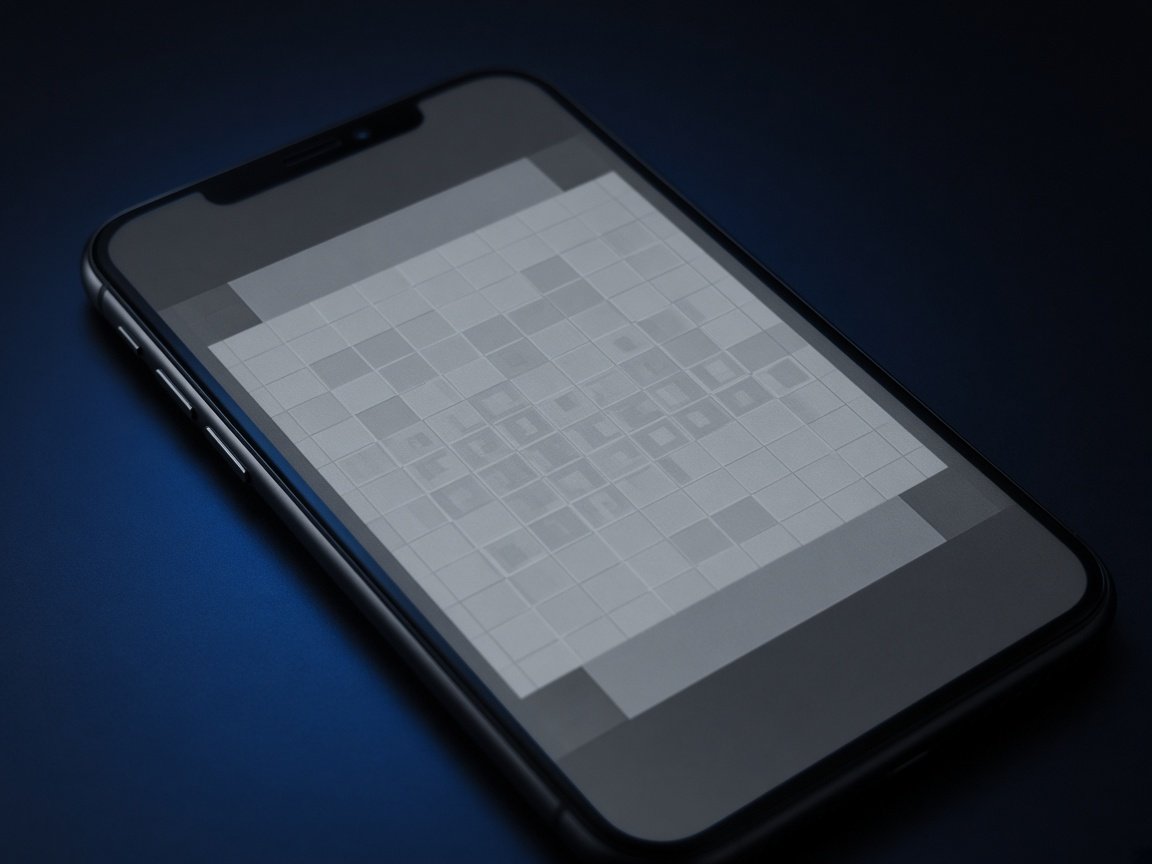
On modern iPhones, burn-in is OLED pixel wear. Bright, static interface elements age faster than the rest of the panel. The clock and widgets on Always-On Display, the status bar icons, the home indicator, the keyboard, and game HUDs are common culprits. Over months of high brightness, those regions can look dimmer, tinted, or faintly outlined when you open a full-screen photo or solid color.
Temporary image retention can look similar but usually fades after a few minutes on a varied image. True burn-in stays visible on gray, white, and colored full-screen fills. An iPhone screen burn-in test helps you tell the difference quickly so you can adjust settings or negotiate a used-device purchase with confidence.
Apple’s Super Retina panels include pixel-shifting and brightness management, but heavy AOD use, navigation apps left on the dash mount, and max brightness for long gaming sessions still create uneven wear. Testing on a uniform background reveals patterns that normal wallpapers can hide.
Ready to Check Your iPhone Display?
Use the on-page tool above when available, then walk through the gray, white, and color checks in this guide. Compare with the OLED and Phone guides if you want a second opinion workflow.
iPhone Prevention Tips & Next Steps
Disable or dim Always-On Display if you leave the phone face-up all day. Prefer darker wallpapers and Lock Screen widgets with less pure white. Enable Auto-Lock at 30 seconds when possible, and avoid max brightness for static reading apps.
Rotate between apps so the same chrome is not parked for hours. For CarPlay or dash mounts, plug in only when needed and blank the screen at stops. After long gaming sessions, rest the panel on a varied image before judging burn-in.
Re-run this iPhone screen burn-in test after major iOS updates or if you change AOD settings, since new widgets can create new wear hotspots. Bookmark the homepage and related guides for quick rechecks.
Why Early Detection Matters on iPhone
Catching early wear lets you lower Always-On Display brightness, shorten Auto-Lock, and avoid parking bright maps on-screen for hours. Small changes slow further uneven aging and keep the panel looking even for longer.
When buying a used iPhone, a two-minute burn-in check is one of the highest-value inspections you can do. Sellers may not notice mild keyboard or status-bar ghosts under a busy wallpaper. Your test removes guesswork and supports a fair price or return.
If you already own the device, early detection is mostly about habits: dark mode, reduced AOD complexity, and avoiding static HUD games at maximum brightness. Re-test monthly if you use navigation or Always-On heavily.
Frequently Asked Questions
Is this iPhone burn-in test free?
Yes. It is free to use with no signup or app.
Does it work on all iPhones?
It runs in your browser, so you can use it on any iPhone. Burn-in only affects OLED models, such as iPhone X and newer Pro models. LCD models do not get burn-in.
Can this test remove burn-in?
No. It only helps you find it. Real burn-in is permanent, but image retention often fades by itself.
How do I know if it is burn-in or just a smudge?
Clean the screen with a soft cloth and test again. A smudge will wipe off. Burn-in stays in the same shape on every color.
How long does image retention last?
Usually a few seconds to a few minutes. If the shadow is still there after the screen has been off for a while, it may be burn-in.
Can a screen protector cause burn-in marks?
No, but a dirty or scratched protector can look like burn-in. Test without it if you can.
Does Dark Mode help prevent burn-in?
It can help, because dark pixels use less power and wear slower. It is not a full fix, but it is a good habit.
How often should I test my iPhone screen?
Test it after buying a phone, after a repair, after heavy gaming or navigation, or when you notice something strange on the display.